Creating the VAT’s in Houdini
STEP 3.
Open Houdini and create a new project. A good practice is to immediately safe it somewhere. Put down a Geometry SOP and go inside it.
Next, put down an ‘alembic’ sop and in the Field “File Name” input the path to your .abc. Below this put down an ‘unpack’ sop and a ‘transform’ sop.
In the transform sop, rotate the mesh minus 90 degrees around the x axis. We do this, because Unreal Engine, the place where we exported the mesh and animation from, is a left-handed coördinate system. This means that the Z axis ‘up’ means. In Houdini there is a right-handed coördinate system. Here, the Y means ‘up’. To convert between the two, the mesh is being rotated around the x axis. We can easily fix this by rotating it again.
This is all we need to do on geometry level.

STEP 4.
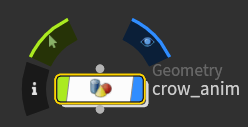
Now we’re going to convert this to a VAT. Go to the obj level and click once on your geometry node. Then go to the Game Development Toolset and click on the icon with “VAT”.

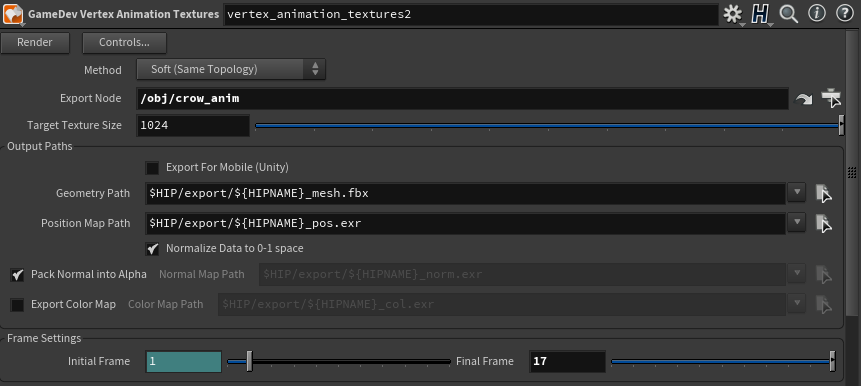
Now go to the ‘out’ network. There you can find a ‘vertex animation textures’ node. In this node you have to fill in some fields. Next to ‘Export Node’ find your geometry node. Then, below under Frame Settings, fill out the framerange of the animation you want to render. In my case it’s 1-17. Optionally, you can also change the Geometry Path and the Position Map Path Houdini is going to write the exported files to. This is what my settings look like:
Now hit render. You will see that in BBOX MAX and BBOX MIN the values have changed. We’re going to use these later in the shader.
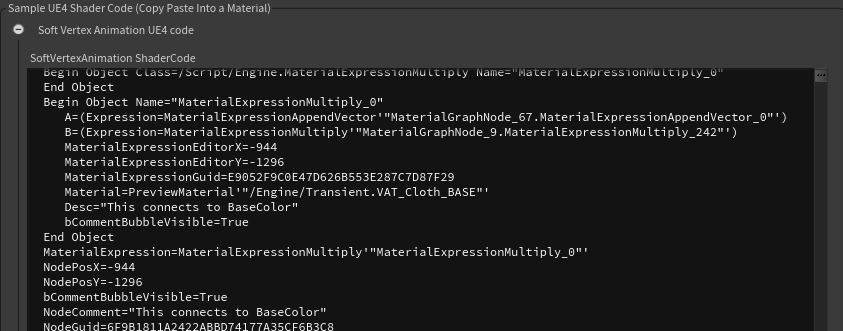
At this point we’re done creating the vertex animation textures. To check if everything went right, go to the export folder of your Houdini project and check if there’s a new mesh and texture file. Add animation to SOP Path. Houdini is going to cache the data. What else Houdini created, is a shader. You can find this in the node under Sample UE4 Shader Code. This is what we’re going to use in Unreal Engine to create the material.