Finishing the shader
I’m going to show you a few more tricks to finish the shader. These are optional, and you can do whatever you want with the shader from here!
STEP 19
To make the all over look of the clouds a bit darker we’re going to use a Fresnel node. What a Fresnel node does is calculate the dot product of the surface normal and the view direction. This will create a fall off on the borders of the sphere. You can determine the amount of falloff with the Exponent input.
Another node we haven’t used before, but is very important with creating shaders is a Linear Interpolate (or “Lerp”) node. This node blends between two input values based on the Alpha input. The Alpha should generally between 0 and 1.
Place down both nodes and connect the Fresnel node to the Alpha of the Lerp node. Attach the Add node at the very end of the shader graph to Input A of the Lerp node and in the details panel fill in 0 for B. This means the falloff at the border will be black.
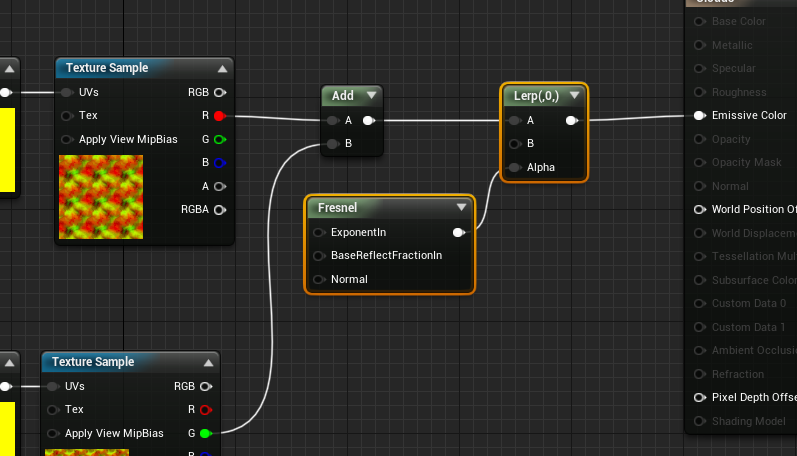

Click on the Fresnel node and fill in 1 for the Exponent value and 0 for the Base Reflect Fraction, so we won’t lose any of the details of our clouds.
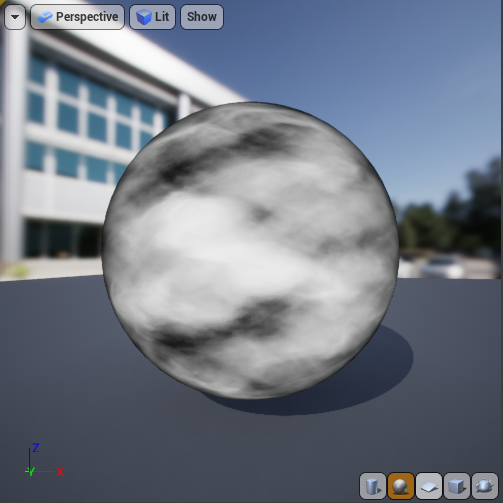
The result of the Fresnel and Lerp node should look something like this. Play around with the Exponent value of the Fresnel node to get a bigger or smaller falloff.
STEP 20
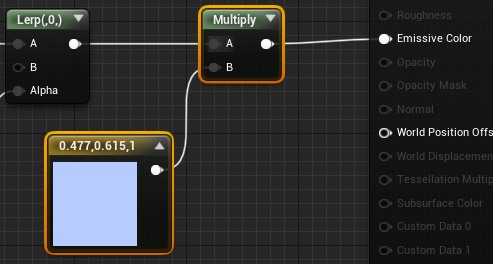
We’re going to give the clouds a bit of color by adding a Constant Vector 3 node. You can do this by using the search window or clicking on the canvas while pressing down ‘3’. Choose whatever color you like, but I always make sure to keep the Value of the color all the way up as not to lose any detail in the shader.

Double click on the node to get the Color Picker window. I used the color 7A9DFF00.
Connect the color by multiplying it with the Lerp node like above.
Check the image below for the final shader network. Click on it to enlarge it.

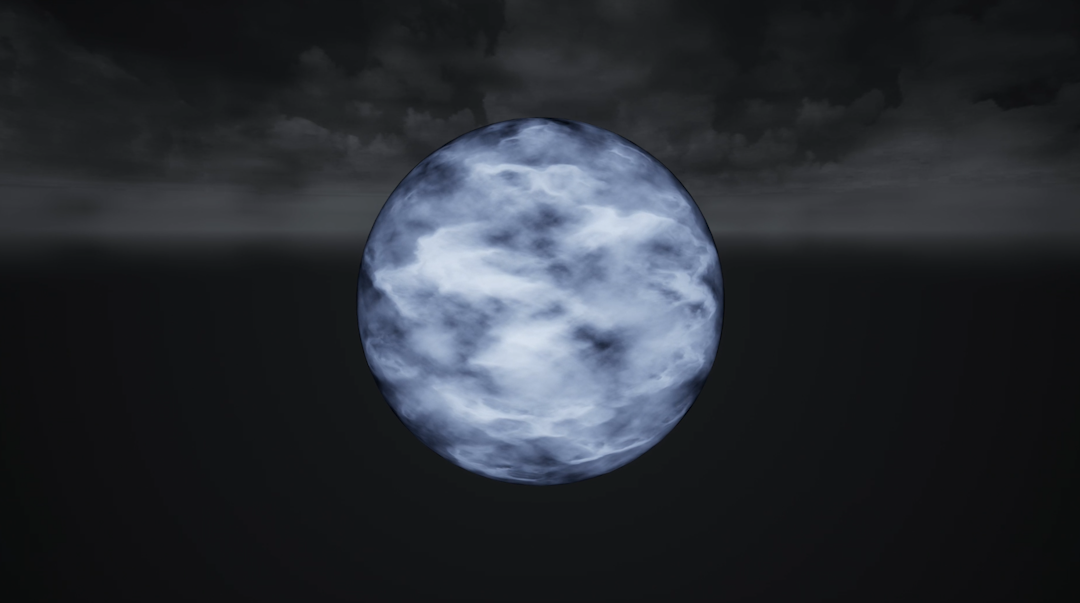
This is my final result after tweaking a bit of values (inlcuding reducing the Texture Warping) and editing the Sky material of the level: