Panning
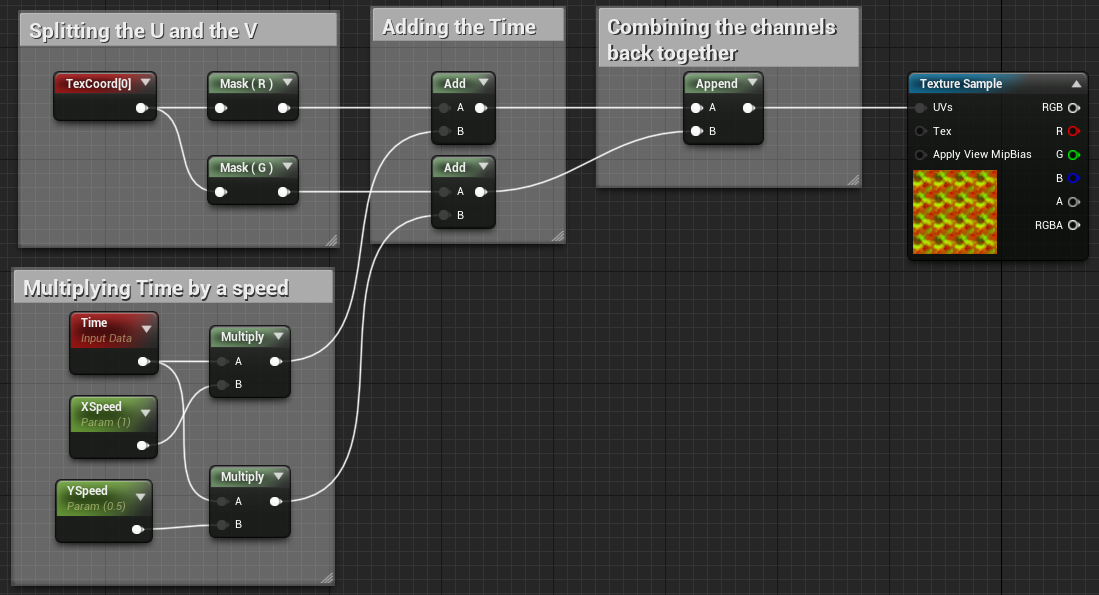
To add movement to your shader, you can make use of ‘panning’. Panning is moving the texture coordinates across the UV’s over time. Unreal has a very handy node for this called ‘Panner’, so you don’t have to build it yourself. We’re definitely going to use this node in the shader, but for learning purposed, I”m going to show you how to pan your coordinates without a Panner node, so you know what is actually going on.
STEP 15
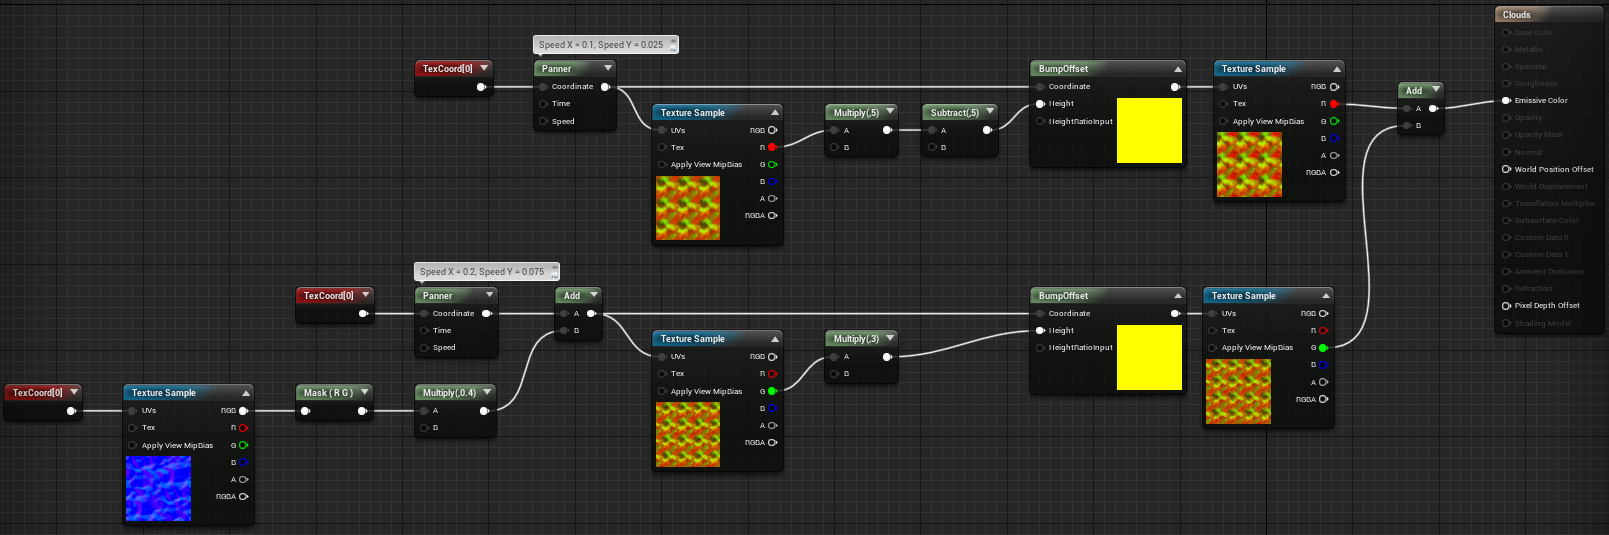
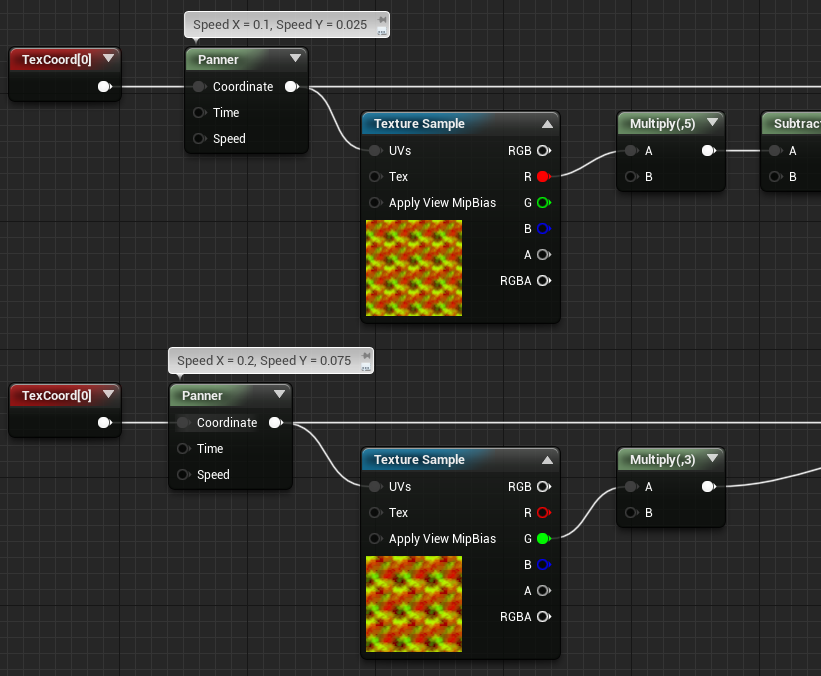
Add Panner nodes after both TexCoord nodes by using the search option or pressing ‘P’ while clicking on the canvas. Attach the output of the panner nodes to the UV input of the Texture Sample node that is used to determine the height of the parallax effect, and to the Coordinate input of the Bump Offset node. This way the parallaxing will still behave correctly.
Panner 1: Speed X = 0.1, Speed Y = 0.025
Panner 2: Speed X = 0.2, Speed Y = 0.075
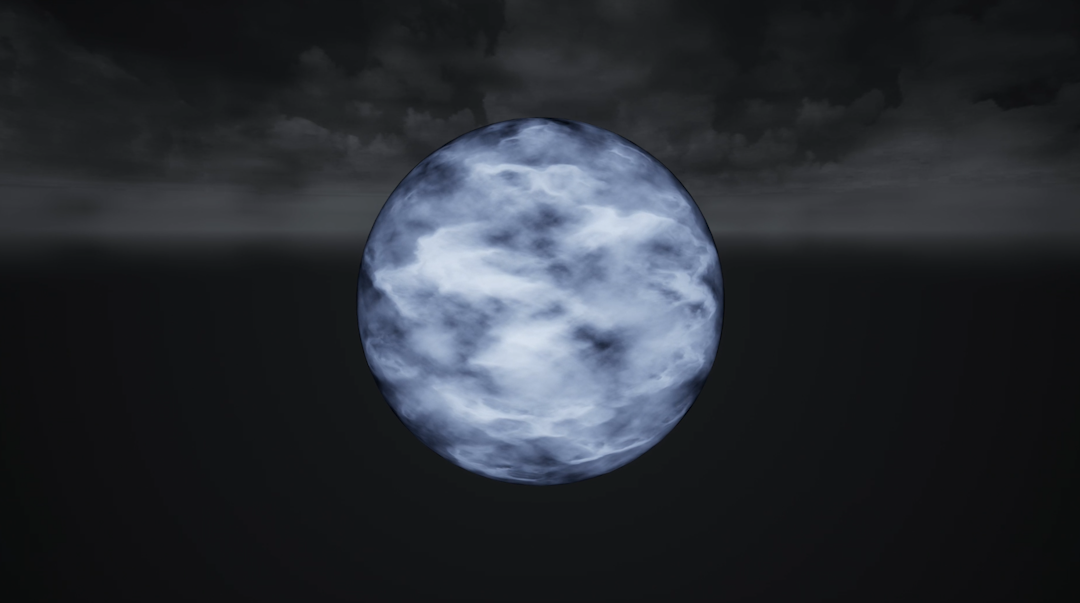
Again, play around with the values until you are satisfied with the result. At this point it should look similar to the example below:
Texture Warping
Finally, to make our clouds behave in a more interesting way, we’re going to warp the top layer of clouds a little bit. We’ll do this by perturbing the coordinates of the texture using a normal map.
STEP 16
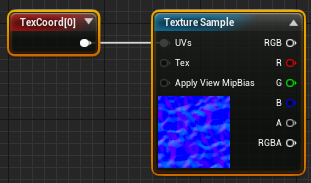
Get a Texture Sample and a Texture Coordinate node. Click on the Texture Sample and select the “T_Water_N” texture from the Starter Content in the details panel.
STEP 17
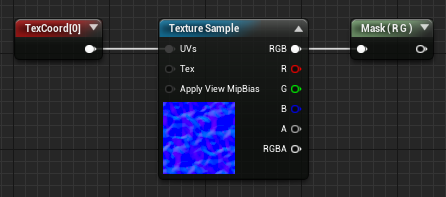
Place down a Component Mask node and get the red and green channel. This should be the default of the node.
STEP 18
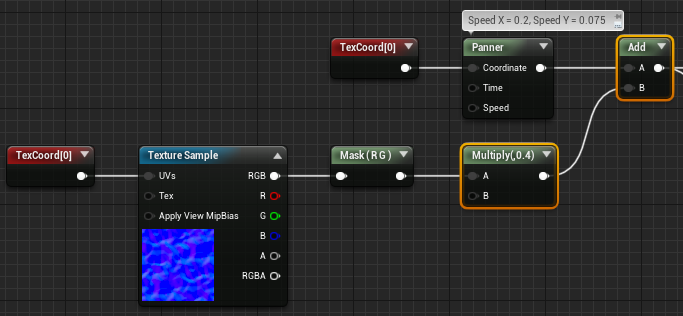
Get a Multiply node and attach the Mask node to it. This is your intensity. This is another case where you should be very careful not overdoing it, because it can look fake very quickly. Right now I’ve used a value of 0.4, but I might tweak it later.
Next, place down an Add node and add attach the Panner node of the top layer of clouds to the Multiply node you just created. A more detailed node graph can be seen below.