Creating the Textures
Image size
You should always be wary of the sizes of your textures. Always opt for the lowest possible size you can get away with. It’s also good practice to restrict your sizes to the power of 2. These are some examples:
256 x 128
256 x 256
512 x 8
512 x 512
1024 x 1024
2048 x 2048
Textures don’t always have to be square, but each dimension should preferably be a power of 2.
By ensuring the dimensions of your textures are a power of two, the graphics pipeline works way more efficient and render performance will be better, because it’s faster to divide and multiply by powers of 2. It’s especially important if you’re making use of mipmaps.
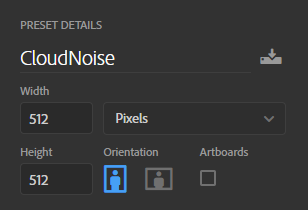
STEP 1.
For the cloud textures we’ll be using dimensions of 512 x 512. Create a new Photoshop file and name it something sensible. In this texture we’re going to save two cloud noises. If you’re satisfied, click ‘Create’.
The result should be a square canvas. The color doesn’t matter at this point.
Photoshop Filters
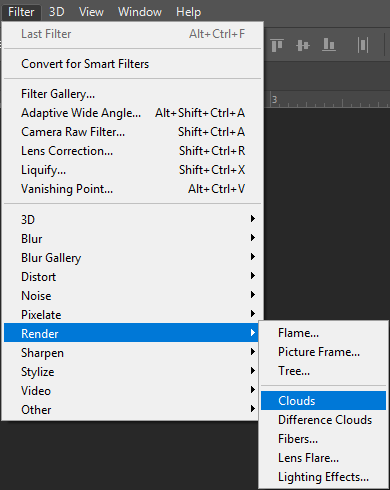
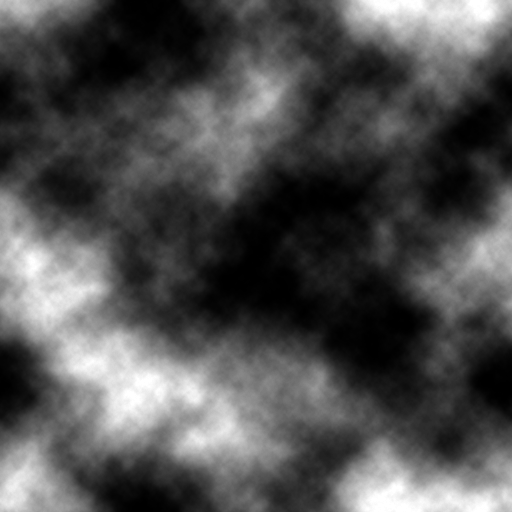
STEP 2
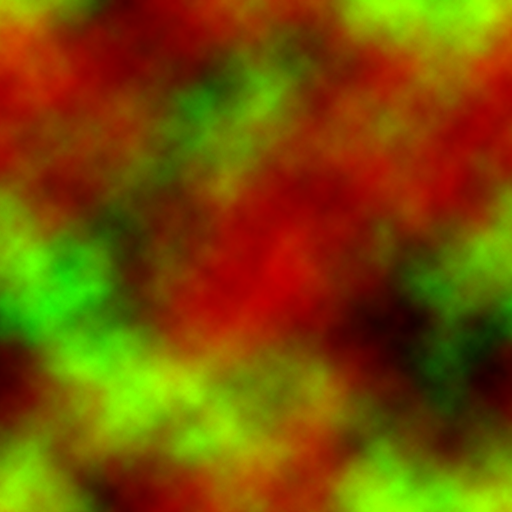
The next step is applying a filter. This filter is going to be your noise. Click on Filter > Render > Clouds.
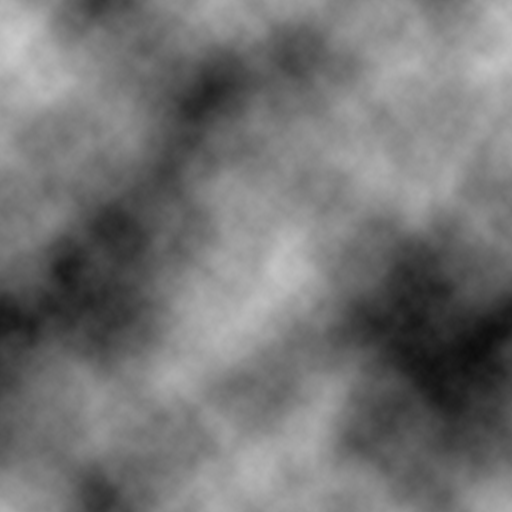
The result should looks something like this.
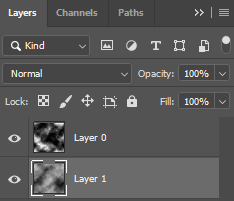
STEP 3
Now create a new layer by pressing Shift + Ctrl + N, or by doing it any other way you’re familiar with. Repeat the second step again with this layer, so you have two layer with the Clouds filter. When you’ve done that, press Ctrl + Alt + F to execute the filter again. This time it should have more contrast. Repeat pressing those buttons until you’re satisfied with the result.
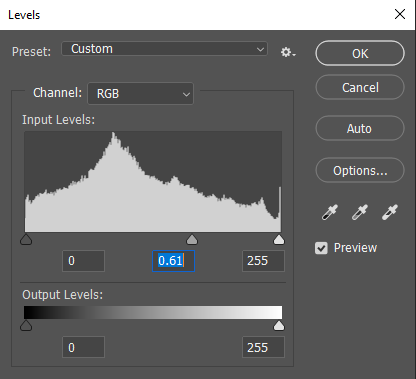
STEP 4
Press Ctrl + L. The Levels window should pop up. Drag the little grey arrow a bit to the right to darken the lower values in your texture even more.
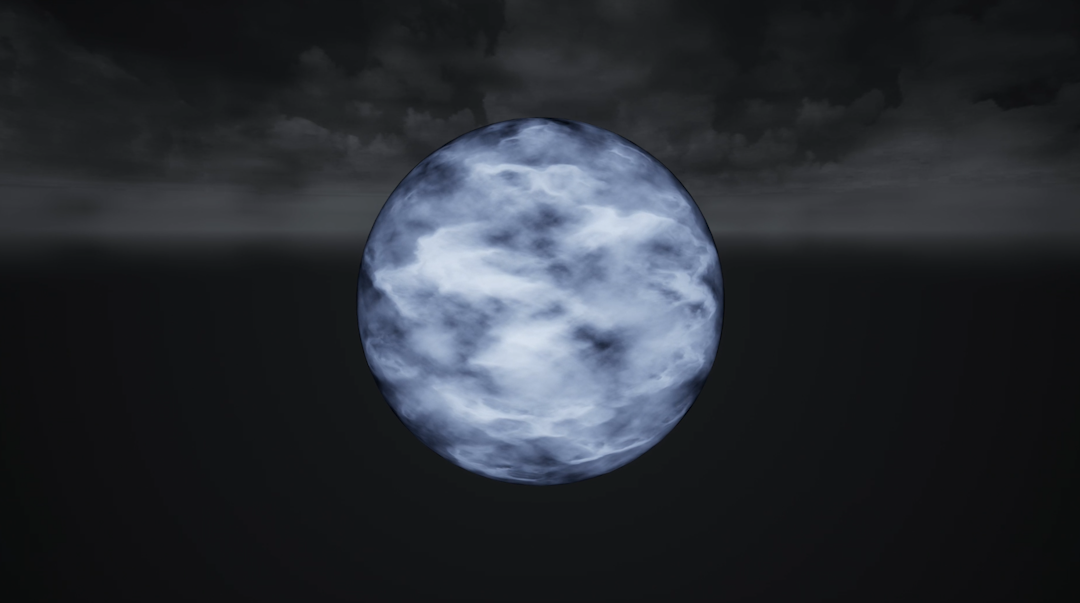
The result should be something that looks like wispy clouds.
Channel Packing
Channel packing is a very handy way of saving texture space and therefore memory. It’s different grayscale images packed in different color channels: Red, Green, Blue and optionally Alpha (we don’t need an alpha channel in this texture). These individual channels can then be extracted in the shader. It does increase the shader complexity a little.
STEP 5
Double click on the first layer we made. A Layer Style options window should pop up as below.
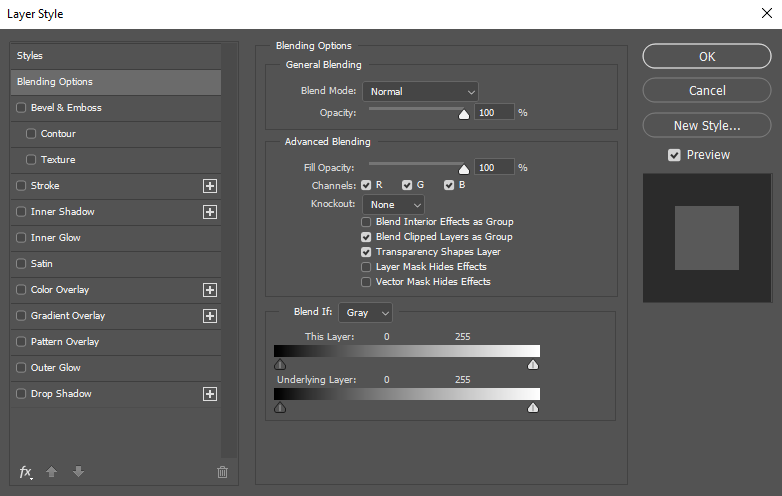
STEP 6
We’re going to put this texture in the Red channel. Untick the G (green) and B (blue) channel boxes under Advanced Blending.

STEP 7
Do the same thing with the second layer, but this time untick the R (red) en B boxes, so the layer will be in the Green channel. This should be your final result.
STEP 8
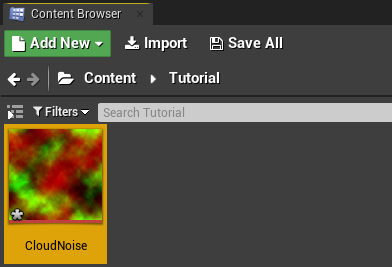
Save the file as a .psd of .tga. If you choose .tga choose “24 bits/pixel” in the Targa Options window . Then drag the file from the folder you saved it in into your Unreal Content Browser.